
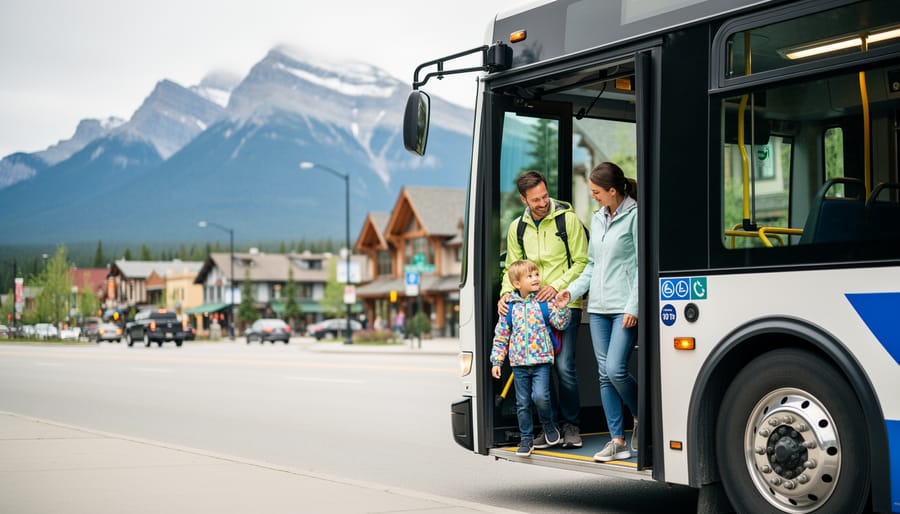
Yes, you can absolutely explore Banff without a car. Roam Transit operates free and paid bus routes throughout Banff National Park, connecting the town of Banff, Canmore, and Lake Louise with major trailheads, ski resorts, and attractions. For Vancouver visitors used to hopping on the SkyTrain or booking airport transfers Banff’s transit system will feel refreshingly straightforward.
I learned this the hard way during my first Banff trip back in 2019. I’d rented a car, spent 45 minutes circling for parking at Lake Louise, and paid $15 for the privilege. The family beside me on the lakeshore? They’d taken the bus, arrived stress-free, and had an extra $13 for hot chocolate.
Here’s what makes Banff transit work for 2026 travelers. The system runs year-round with seasonal schedule adjustments. Summer routes connect you to Johnston Canyon, Moraine Lake, and the Banff Gondola. Winter service takes you directly to Sunshine Village, Lake Louise Ski Resort, and Mt. Norquay. Local routes within Banff townsite are completely free.
The catch? You need to plan around bus schedules, especially for popular destinations like Moraine Lake, which requires reservations during peak season. But if you’re already comfortable navigating Metro Vancouver transit or enjoying the best outdoor recreation spots closer to home, you’ve got the mindset needed to make Banff public transit work beautifully.
What You Need Before You Board
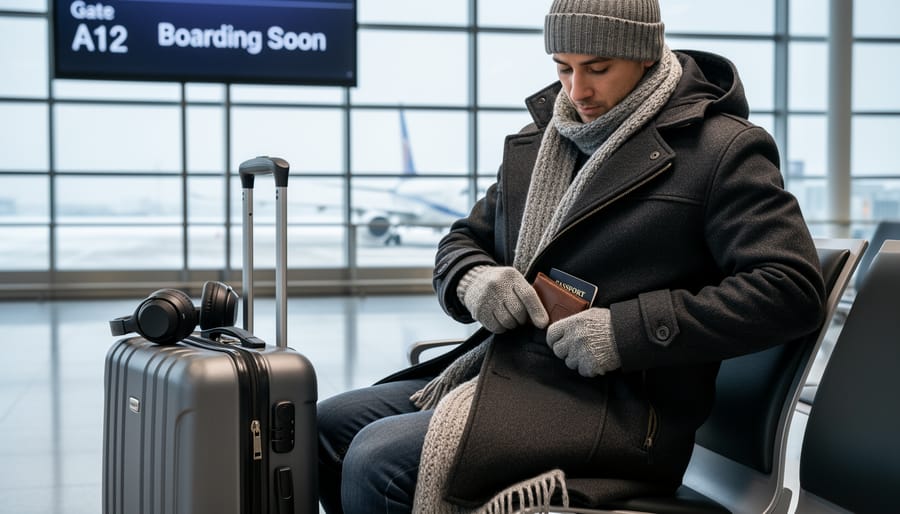
Getting on a Roam bus in Banff isn’t complicated, but a little prep before you leave Vancouver will save you headaches when you’re standing at a mountain bus stop. I learned this the hard way after fumbling with app downloads in spotty Canmore cell service while a bus idled at the curb.
Start with your phone. Download either the Token Transit App or the Transit App before you hit the road, ideally while you’re still home in Vancouver on reliable Wi-Fi. Both apps let you buy and store tickets digitally, which beats digging for exact change when you’re juggling a backpack and coffee. The Token Transit app is Roam’s official partner and handles all three service areas, while the Transit App also works and includes real-time arrival predictions.
Here’s what you need sorted before you board:
- Token Transit App or Transit App downloaded and set up with payment method
- Exact cash as backup ($2 bills, loonies, toonies) in case your phone dies or signal drops
- Day pass vs. single ride decision based on how many trips you’re planning that day
- Understanding of which service area you need: Banff Local for town, Canmore/Banff Regional for travel between the two towns, or Lake Louise services
- Offline maps saved to your phone for navigating stops without cell service
The cash backup matters more than you’d think. While apps work smoothly most of the time, mountain cell coverage can be unpredictable, and ticket vending machines aren’t at every stop. Drivers accept exact fare only, so having a small stash of coins and bills means you won’t get stuck. For Lake Louise Lakeshore service in winter, cash is actually your only option, the route doesn’t accept app purchases.
Take a moment to figure out your itinerary and match it to Roam’s service areas. If you’re staying in Banff town and hitting local attractions, you need Banff Local service. Planning a day trip to Canmore or shuttling between the towns? That’s Canmore/Banff Regional. Heading to Lake Louise Village requires the Lake Louise route. Knowing which zone you need helps you buy the right ticket type and avoid overpaying for coverage you won’t use.
Understanding Roam Transit’s Service Areas
Roam Transit breaks its service into three distinct zones, and knowing which one you need will save you confusion and money when you arrive. Think of it like Vancouver’s bus system spanning multiple municipalities, except here, the zones are spread across mountain towns and resort areas instead of city neighborhoods.
Banff Local covers everything within the town of Banff itself. These buses loop through the townsite, connecting hotels, restaurants, the Banff Visitor Centre, popular trailheads on the edge of town, and attractions like the Banff Gondola base. If you’re staying in Banff and exploring town-based activities, this is your zone. The routes run frequently enough that you won’t spend your day waiting at stops, and at $2 per ride or $5 for an all-day pass, it’s the most affordable option.
Canmore/Banff Regional is the connector service between Banff and Canmore, the gateway town about 20 minutes east. Vancouver travelers often overlook Canmore, but it offers quieter dining, more affordable accommodations, and its own hiking access. This regional service bridges the two communities, making it possible to base yourself in Canmore and day-trip into Banff, or vice versa. Fares jump to $6 per ride or $15 for a day pass since you’re covering more distance.
Lake Louise service operates separately and includes routes within Lake Louise Village plus the critical connection to the famous lakeshore itself. This is where most Vancouver visitors want to go for that iconic turquoise-water photo.
To figure out which service you need, map out your must-see spots. Staying in Banff town and hiking Johnston Canyon? Banff Local handles it. Hitting Lake Louise for sunrise and Moraine Lake afterward? You’ll need Lake Louise service plus connections to Parks Canada shuttles. Planning to explore both Banff and Canmore? Budget for Regional fares or grab that $30 system-wide day pass if you’re cramming multiple zones into one ambitious day.
Step-by-Step: How to Ride Banff Public Transit
Step 1: Find Your Route and Schedule
Before you set foot on a Roam Transit bus, you need to know which route gets you where you want to go and when it’s running. The official Roam Transit website is your starting point, it lists current routes, schedules, and any seasonal service changes. Download their route maps and save screenshots of the schedules that match your itinerary, especially if you’re heading into areas with spotty cell service.
If you prefer talking to a real person, the Customer Service Desk at the Banff Visitor Centre (224 Banff Ave) is staffed with locals who can help you plan connections and clarify confusing routes. They’ll print maps if you need them and point out which buses stop nearest to your hotel. Pro tip: visit the desk when you first arrive in Banff, before you’re rushing to catch a bus. The five minutes you spend there can save you an hour of missed connections later.
Step 2: Choose Your Ticket Type
Here’s your math: if you’re making three or more trips within Banff townsite in a day, grab the $5 day pass instead of paying $2 per ride. Two trips? Break even. Planning to explore both Banff and Canmore? The $15 regional day pass covers you after just three one-way trips at $6 each.
The single ride makes sense only if you’re taking one bus to a specific spot and walking back, or if your hotel shuttle covers most of your movement. Most Vancouver visitors hit multiple stops, morning at Banff Avenue shops, afternoon at the hot springs, evening back downtown, which quickly pushes you into day pass territory.
Heading to Lake Louise? That falls under the system-wide day pass at $30 for adults, which also covers all Banff Local and Regional routes. Sounds steep, but it’s cheaper than parking fees plus gas, and you’re not white-knuckling mountain roads.
Step 3: Purchase Your Fare
You’ve got four ways to pay for Roam Transit, and honestly, the apps make life easiest.
The Token Transit App and the Transit App both let you buy tickets on your phone before you even leave your Vancouver hotel. Open either app, select your route or service type, purchase your fare, and activate the ticket when you board. No scrambling for change, no worrying about vending machine glitches. I’ve used Token Transit on a snowy February morning when my fingers were too cold to count coins, and it saved me.
Ticket vending machines sit at major stops and transit hubs around Banff. They accept credit cards and cash, but they can be finicky in winter weather. If you’re using one, give yourself extra time.
You can also pay the driver with exact cash fare when you board. Emphasis on exact, drivers don’t carry change. This works fine for a quick trip, but it means digging through your wallet while other passengers wait behind you.
Finally, the Customer Service Desk at the Banff Visitor Centre (224 Banff Ave) sells tickets in person. Staff can answer questions and help you choose the right fare option if you’re unsure.
Pro tip: Download one of the apps before you head into the mountains. Cell service can be spotty in the Rockies, and you don’t want to troubleshoot an app download when your bus arrives in three minutes.
Step 4: Board and Ride
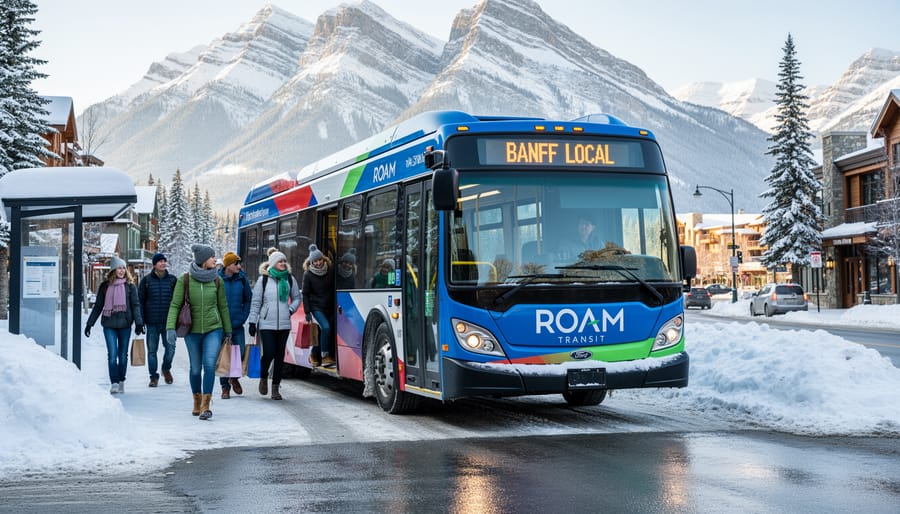
When your bus pulls up, check the digital destination sign to confirm it’s the right route. Buses have large windows and low floors for easy boarding, just step on and show your mobile ticket or tap your pass if you bought it in advance. If you paid cash, drop the exact fare in the box as you board. Drivers are friendly and used to tourists, so don’t hesitate to confirm your destination.
Pull the yellow cord or press the stop button when you see your landmark approaching. If you’re unsure, ask the driver to call out your stop, they’re genuinely helpful. Most stops have clear signage, but the buses also announce stops audibly.
Here’s where it gets interesting for Vancouver visitors used to SeaBus and SkyTrain: Roam Transit connects to Parks Canada’s free shuttle network at key transfer points. Once you reach Lake Louise Village or designated park stops, you can hop on Parks Canada shuttles to access trailheads, lakes, and backcountry areas that even private vehicles can’t reach during peak season. It’s like transferring from the 99 B-Line to a trail shuttle, just watch for the marked shuttle stops and check Parks Canada’s current schedule for timing.
Banff Transit Fares: What You’ll Actually Pay
Budgeting for transit in Banff is refreshingly straightforward compared to Vancouver’s zone-based pricing. Here’s exactly what you’ll pay in 2026, broken down by service type so you can plan your mountain budget accordingly.
For getting around Banff townsite itself, Banff Local service costs just $2 per adult ride. If you’re planning multiple stops, say, riding from your hotel to the Banff Gondola and then into town for dinner, grab the day pass at $5 instead. That breaks even after three rides. Youth and seniors pay half price ($1 per ride, $2.50 for the day pass), while kids ride free.
The game-changer for Vancouver visitors doing a proper Rockies exploration is the system-wide day pass at $30 for adults ($15 for youth and seniors). This unlocks everything: unlimited rides on Banff Local routes plus the Canmore/Banff Regional service, which normally runs $6 per adult single ride or $15 for a regional day pass. If you’re planning even one round trip between Banff and Canmore, the system-wide pass pays for itself. I learned this the expensive way on my first trip, buying individual regional tickets before realizing I’d blown through $30 by lunchtime.
Speaking of Canmore/Banff Regional, those $6 single rides connect the two towns and are worth it if you’re staying in Canmore but exploring Banff, or vice versa. The regional day pass at $15 covers unlimited trips between both communities for the day, perfect if you’re hopping back and forth.
Here’s the cash-only exception: Lake Louise Village to Lake Louise Lakeshore service (winter only) requires exact fare paid directly to the driver. Cards and apps won’t work for this specific route, so bring bills and change. It’s the one quirk in an otherwise digital-friendly system.
Kids under a certain age ride free system-wide, making Banff transit incredibly family-friendly compared to paying for parking at every attraction. If you normally find travel deals to stretch your Vancouver dollar, these fares represent genuine value, especially when you factor in what you’d spend on gas, parking fees, and the stress of mountain driving.
Safety and Smart Transit Tips
I learned this lesson the hard way on a February trip when I boarded the morning bus in jeans and a light jacket, by afternoon, the temperature had dropped 15 degrees and snow was falling. Mountain weather shifts fast, so dress in layers even if it looks sunny when you leave your hotel. Waterproof boots with good tread are non-negotiable year-round; bus stops aren’t always paved, and icy patches linger well into spring.
Keep your ticket proof accessible throughout your journey. Transit supervisors do random fare checks, and fumbling through your bag while other passengers wait is awkward for everyone. If you bought your pass on Token Transit or the Transit App, make sure your phone is charged. A dead phone means no proof of payment, and you could be asked to pay again.
Stay alert near bus stops, especially at dawn or dusk. Elk, deer, and occasionally bears frequent the same green spaces where transit shelters sit. Give wildlife wide berth and never approach for photos, no matter how tame they seem. If an animal is blocking your path to the stop, wait it out or walk to the next one.
Build buffer time into your plans. If you need to catch a connecting Parks Canada shuttle or make a dinner reservation, don’t cut it close. Buses can run a few minutes behind in heavy snow or tourist season traffic, and missing your connection because you assumed perfect timing creates unnecessary stress. Have a backup plan: know where the next shelter is, keep the Customer Service Desk number saved, and carry enough cash for an emergency fare if your app fails.
Connecting to Major Banff Attractions
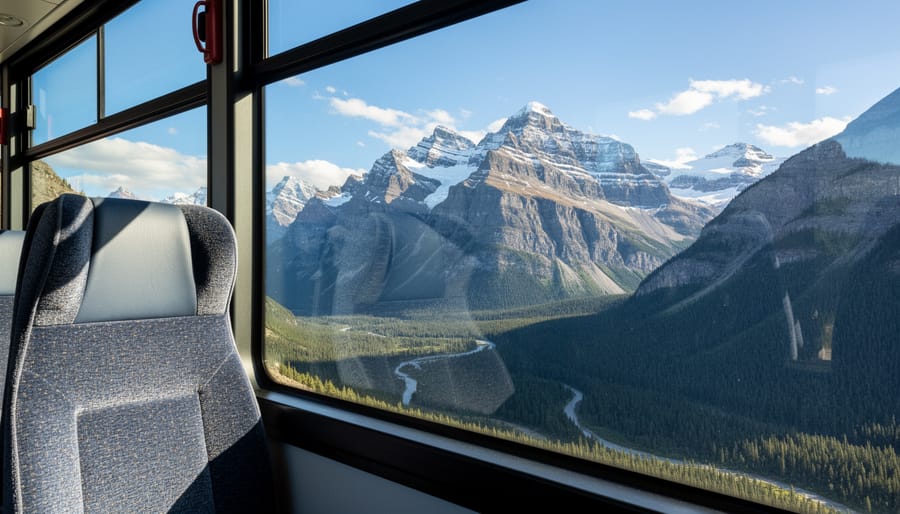
The good news? Roam Transit connects you to every major destination on a typical Banff itinerary. Banff townsite service covers attractions like the Banff Gondola base, Tunnel Mountain Drive viewpoints, downtown shopping and dining, and the iconic Fairmont Banff Springs Hotel. You won’t miss out on the postcard moments just because you left the rental car behind.
If your trip includes Canmore, the Regional service links the two towns throughout the day, letting you explore both communities without needing separate transportation. Lake Louise Village is also accessible via Roam Transit, getting you to the historic railway station area and village amenities.
Here’s where it gets even better: Roam Transit connects directly with Parks Canada shuttle services that run to the actual lakes and trailheads. Once you reach Lake Louise Village or designated transfer points, you can hop on Parks Canada shuttles to reach Moraine Lake and Lake Louise Lakeshore during peak season when private vehicles face restrictions. This connection is crucial because it means you’ll actually have better access to these iconic spots than many drivers who face parking lot closures and roadblocks.
The system isn’t just theoretical. Vancouver visitors successfully use this transit network to hit Banff’s greatest hits without once turning a steering wheel. Check current route maps at roamtransit.com or the Banff Visitor Centre to confirm your specific destinations are covered, but the major draws are reliably served.
Common Questions About Banff Transit
Here’s one thing every Vancouver visitor asks when they hear “mountain transit”, will it actually work for my trip? After years of relying on TransLink and planning around free events in Vancouver the idea of bus service in a ski town feels uncertain. Let me clear up the questions I hear most often.
Does Roam Transit operate year-round?
Yes, Roam runs throughout the year, though service levels adjust seasonally to match demand, summer and winter see expanded schedules, while shoulder seasons like April and November typically have reduced frequency. Check the current schedule before your trip to plan accordingly.
Can I bring luggage or ski gear on the bus?
Absolutely. Roam buses accommodate skis, snowboards, backpacks, and standard luggage, though space can fill up during peak times. Board early if you’re carrying bulky gear, especially on popular routes during ski season.
Are pets allowed on Banff transit?
Service animals are always welcome. Pet policies for other animals vary by route and season, so confirm current rules with Roam Transit directly before bringing your dog.
Is winter service reliable despite the weather?
Roam operates in all weather conditions, but mountain winters occasionally cause delays, nothing like the chaos of Vancouver’s rare snowstorm, but buses can run 10-20 minutes late during active snowfall. Build buffer time into your itinerary the same way you would for winter indoor activities back home.
The biggest misconception? That mountain transit won’t reach the iconic spots you came to see. Roam’s network connects to Parks Canada shuttles that access Lake Louise, Moraine Lake, and major trailheads during peak season. You won’t get stranded at the visitor center wondering how to reach the turquoise water you flew across the country to photograph.
One practical note from experience: winter reliability improves dramatically if you dress for the wait. A heated SkyTrain platform this is not. Those five extra minutes standing at a mountain bus stop in January will remind you why locals laugh at Vancouver’s “winter” gear.
You’ve just unlocked the secret that seasoned Rocky Mountain travelers have known for years: ditching the car in Banff isn’t a compromise, it’s an upgrade. You’ll save the $30-plus daily parking fees, skip the white-knuckle drives on icy mountain roads, and cut your carbon footprint while you’re at it. Roam Transit handles the navigation while you actually enjoy the scenery instead of gripping the steering wheel through another snowstorm.
For us Vancouver folks used to reliable transit, Banff’s system feels refreshingly straightforward once you’ve done it once. The $5 local day pass or $15 regional pass pays for itself in stress reduction alone, and you’re supporting the kind of sustainable tourism that keeps these mountains pristine for future visits.
Here’s my favorite insider tip: grab a window seat on the right side when heading toward Lake Louise in the morning. I’ve spotted elk, bighorn sheep, and once even a black bear from those buses, wildlife you’d blow past in a car. The transit ride becomes part of the adventure, not just transportation between points. Trust the system, download those apps before you leave Vancouver, and you’ll wonder why you ever considered renting a car in the first place.